New Inherited FORM
Let's now create a new option in the Menu and make it run in the Project.
If you haven't read this document from the beginning, you can certainly not understand some details.
Each option created from a new registration can have a TABLE in its database to be associated (this facilitates the process but it is not mandatory).
RadCORE associates with nomenclatures to facilitate the automation of various tasks.
This does not mean that you cannot create your options in the dynamic menu for creation / display, yes you can, this is standard programming, recognize a clicked item and trigger the respective FORM / FRAME.
See the topic: First Execution -> Common compilation / execution errors
Important:
Study the DEMOS (Brazil / Global). In the menu generation units ( uMENU_BASICS...etc... ) you will have several usage examples.
In the examples with database, look at the OnCreate event to study the settings used.
What RadCORE offers is precisely not having this work and reducing the lines of code in the project a lot.
> You can create your fields in your language
> There is already a HOLIDAYS table and an example form, but I am using the same theme as it is common in several countries.
Create a HOLIDAYS( english ) / FERIADOS ( portuguese ) table with the following structure:
CREATE TABLE HOLIDAYS (
ID INTEGER NOT NULL,
DESCRIPTION VARCHAR(50),
HOLIDAY_DATE DATE)
ALTER TABLE HOLIDAYS
ADD CONSTRAINT PK_HOLIDAYS
PRIMARY KEY (ID)
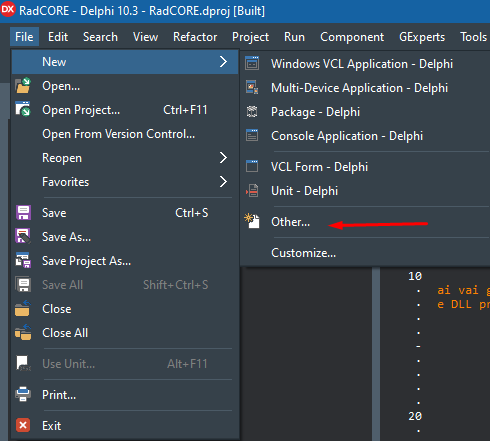
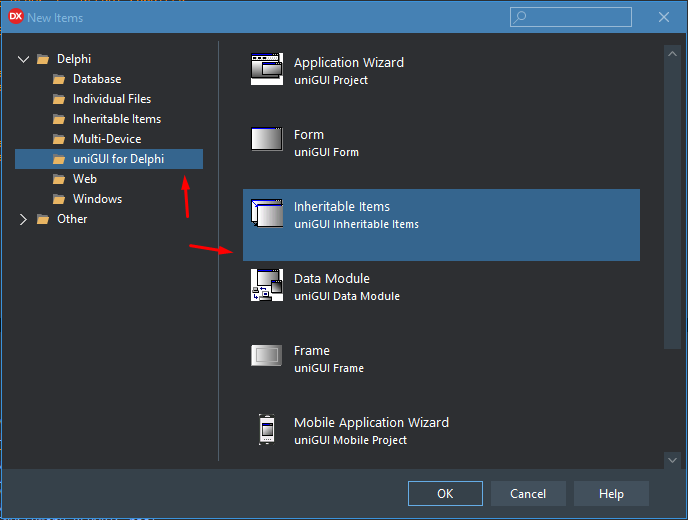
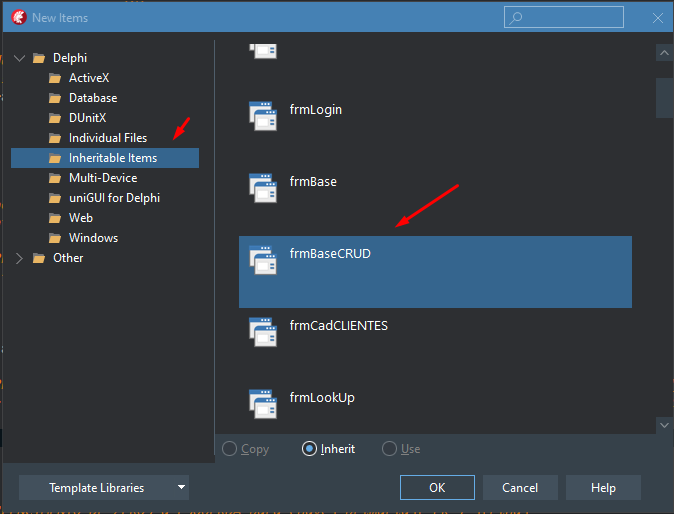
Our example will be a HOLIDAYS REGISTRATION FORM. We will now RENAME the new form to link the corresponding table.

Let's SAVE the new form by observing the proposed folder ORGANIZATION (this is not mandatory, it is just a suggestion). As this new form is a BASIC REGISTRATION, we will save it in the corresponding folder:
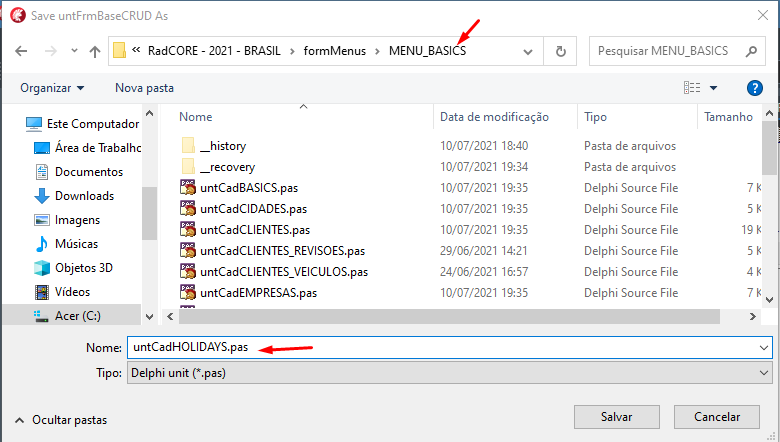
Switch to the unit code and add REGISTERCLASS so that the form can be found by RadCORE:
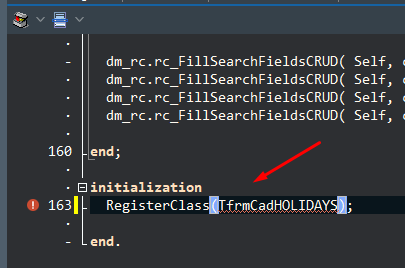
When a RE-USE of a pre-existing FORM is made (SAVE AS, RENAME and ADD TO PROJECT), the declaration above is made automatically by DELPHI.
And this is a faster way when you want to create new screens because it already takes advantage of some components / code, further speeding up the development progress.
Now, let's add a standard code to the OnCREATE event. (For more details on the meaning of the "wild cards" below, click on the link to the side).
sqlMaster.close;
sqlMaster.SQL.Text := ' SELECT [[fields]] ' +
' FROM [[table]] tab ' +
' WHERE tab.[[pk]] = :table_pk ' +
'[grid]' +
' SELECT tab.[[pk]] , tab.holiday_date,' +
' tab.description as "holiday", ' +
' [[allpks]] ' +
' FROM [[table]] tab ';
ed_Where_Search.Text := '' ;
ed_Order_Search.Text := 'tab.description;
DM_RC.rc_FillSearchFieldsCRUD( Self, cbxSearchCRUDFieldDate.name, 'tab.holiday_date , 'DATA' );
inherited;
DM_RC.rc_FillSearchFieldsCRUD( Self, cbxSearchCRUDField1.name , 'tab.' + ed_PK.Text , 'ID' );
DM_RC.rc_FillSearchFieldsCRUD( Self, cbxSearchCRUDField1.name , 'tab.description as "HOLIDAY"' , 'HOLIDAY' );
Using an ALIAS is optional. Here we add: tab.description as "HOLIDAY"
> When using an ALIAS in a "PK field" we have to add the "wildcard" [[allpks]] to the sentence
Add the "DM_RC" unit to the project or any other requested.
Look carefully and see what was necessary to add in the copied code.
As the HOLIDAYS table has the "DATE" field, we add "tab.holiday_date" to be displayed on the GRID and enable the holiday_date field (before inherited) to give the user the option to search by date.
Now we need to add the new item in the respective MENU, as it will be a simple registration, it will be in the BASIC MENU (uMenu_BASICS):
rc_BuildMenuItem( mm.varA_MenuBasics, iSeqMenu, 0, 'Holidays Form', 'holidays' );
We just duplicate a line and change it to put the new title and its respective table (see the details of creating menu items here)
Update the "sqlMaster" so that the DATAFIELDs are updated with their table:
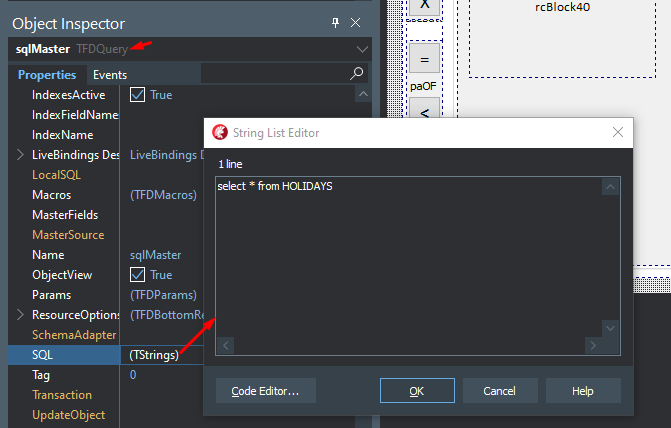
Remember: The sqlMaster SCRIPT will be changed dynamically, this is just so we can add the fields to the form.
Toggle the sqlMaster's ACTIVE property (True / False) and then adjust the DATAFIELDs of the fields you added.
Add the required fields to the form:

We are ready to run the application and activate the newly created option.
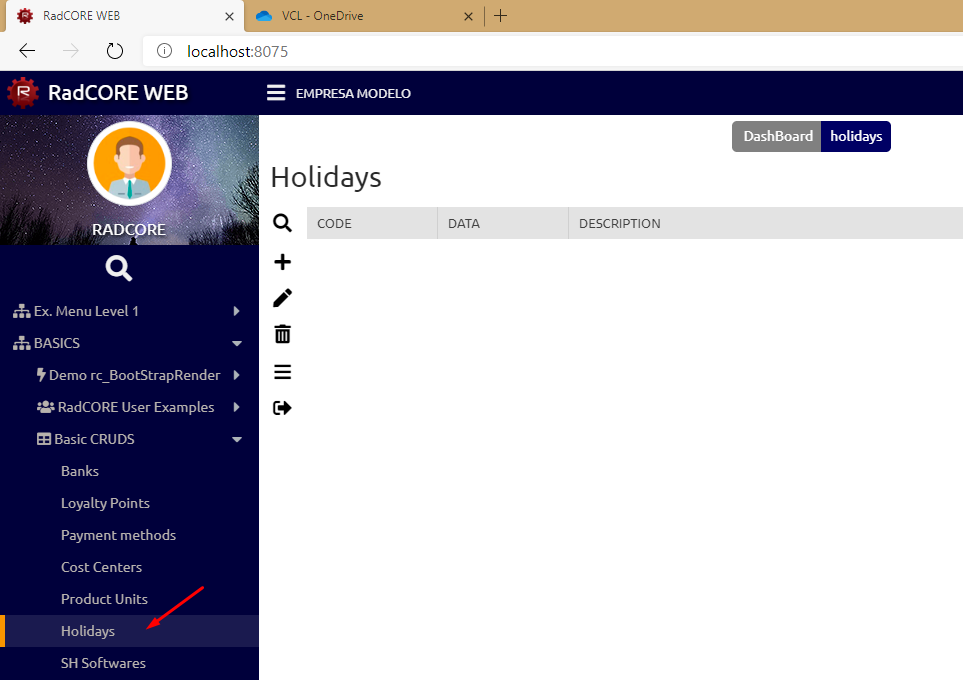
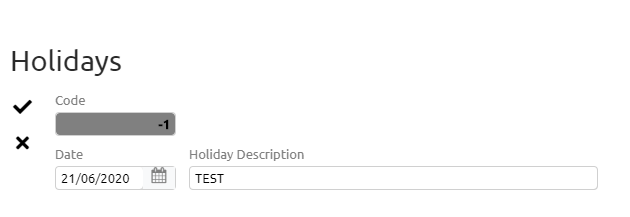

All CRUD functions are ready. Study other forms that accompany the project to better understand and practice.
Created with the Personal Edition of HelpNDoc: Create cross-platform Qt Help files