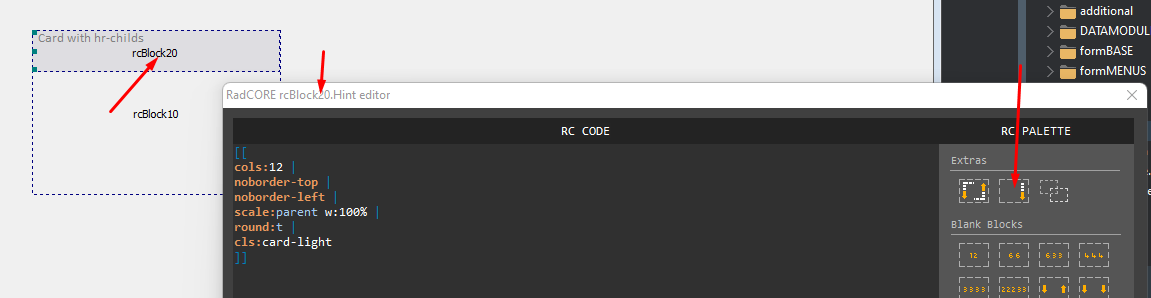
Extras
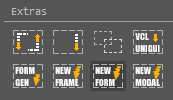
RC PALETTE: EXTRAS
Here you can add pre-defined responsive blocks to your form with different applications, from clean blocks to insert your components to blocks for use in an ecommerce, for example.
BLOCKFY

This resource was created to help, mainly, the migration of projects in unigui to RadCORE.
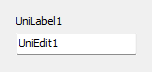
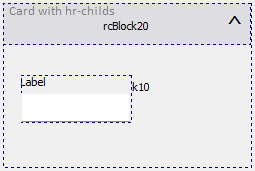
Normally, in our forms, we create a LABEL and below an editing component ( Edit, Combobox, Memo etc ).
Blockfy will place your components inside a responsive block ( rcBlockNN ) and adjust their positions, sizes and anchors to suit RadCORE's responsiveness.
Let's see the following example:
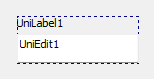
Select the 2 components and then open RC ELEMENTS.
Click the BLOCKFY button and click OK ( or F5 ).
Note:
- Components that use the "fieldlabel" property will receive a linked UniLabel and this property will be deleted. This is necessary to ensure better compatibility with responsive blocks.
- Try to use few components to apply blockfy.
- If after applying blockfy in a set with a Label and an Edit, for example, the label is in the opposite position to the edit, it is because "the initial creation order" of these components was exactly like that, that is, a label must be created before Edit. A simple solution to this is to simply do a CTRL X ( remove ) and a CRTL V ( paste ) on the EDIT component before using blockfy.
- Always observe the numbering given to the created block. By default, blockfy will always create a sequence based on the numbering of the last block.
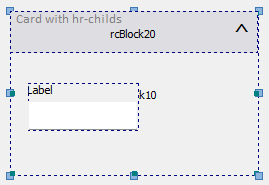
COLLAPSIFY

Unigui has a similar feature but, in addition to not having responsiveness, we can't explore the layout much.
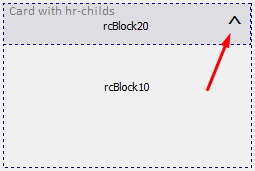
Collapsify will insert an "arrow" at the top right of a previously defined block.
For now, I suggest using a template with "CARD" (you can change the color/css if you wish).
In the RC ELEMENTS itself ( Compound Blocks ) there is a pre-defined model (with Collapsify already ready and without it).
Let's see the following example:
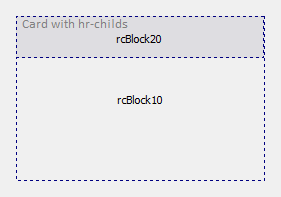
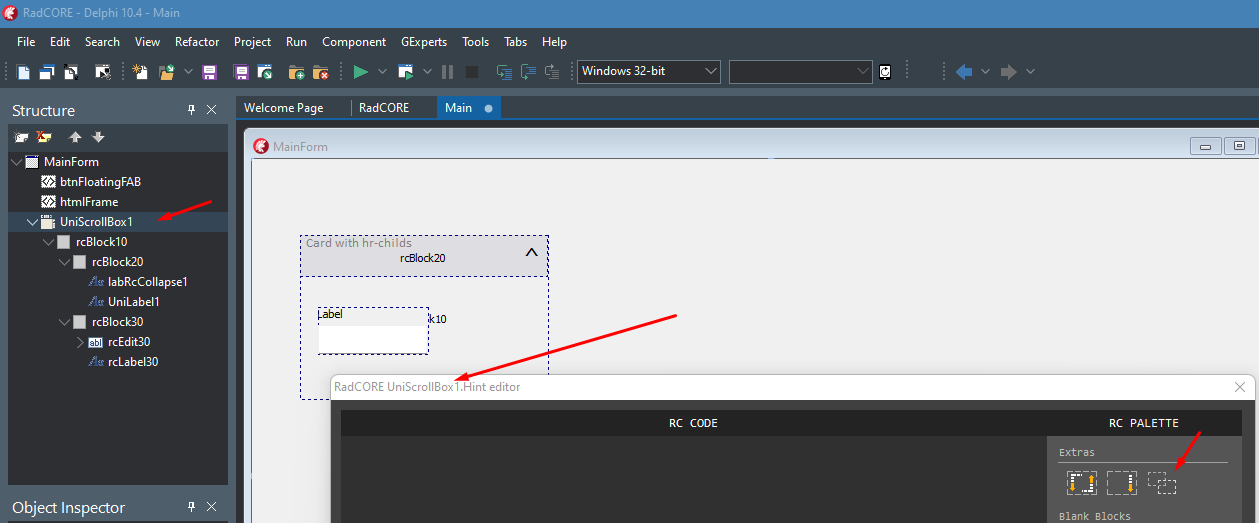
Click on "rcBlock20" and activate RC ELEMENTS.
Click the COLLAPSIFY button and click OK ( or F5 ).
Now we need to inform which "BLOCK" will respond to the click of the "arrow". Click on the arrow and launch RC ELEMENTS
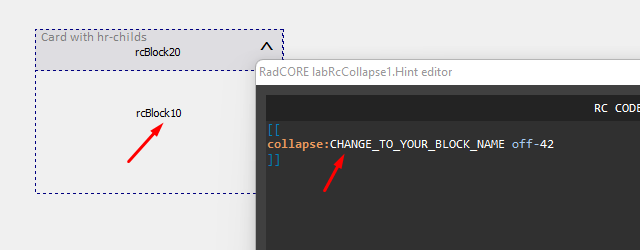
After the "collapse:" attribute insert "rcBlock10" replacing the phrase.
Note: In this example you should insert your blocks with their components inside the indicated block ( rcBlock10 ) to see a better result.
Ready. Run the application to see the result.
CLONE

Sometimes we can create groups of components and we need to duplicate to reuse what was done.
CLONE will do this for you and you can also do this between different forms or even between different DELPHI instances.
Let's use the previous example:

Select all content and press CTRL + C.
Now you can click where you want to do the cloning which can be:
- Within the same form;
- In another form in the same project;
- In another form within another instance of DELPHI.
After clicking where you want to clone, launch RC ELEMENTS.
Click the CLONE button and click OK ( or F5 ).
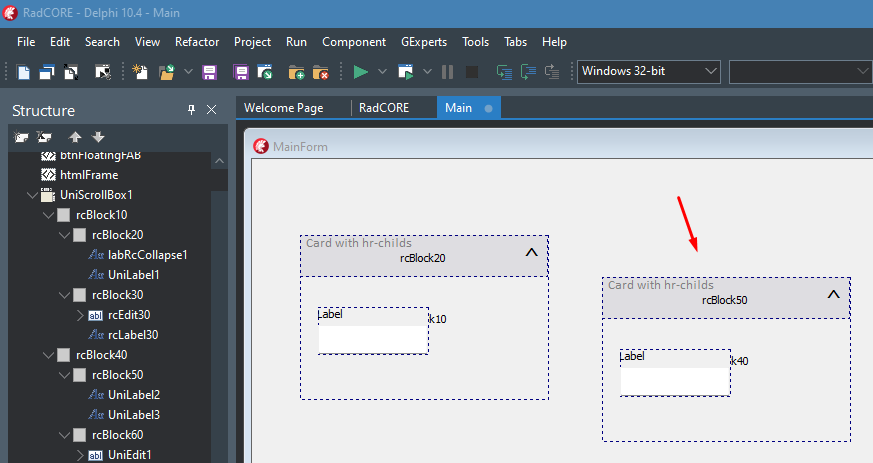
Notice that even the "collapse:rcBlock10" attribute of the source block has been adjusted to point to the new block created.
DETERMINING THE CLONE BLOCK / INTERVAL
Imagine you have several blocks in the form, and you want to clone one or more of them, but you want the sequence to be customized.
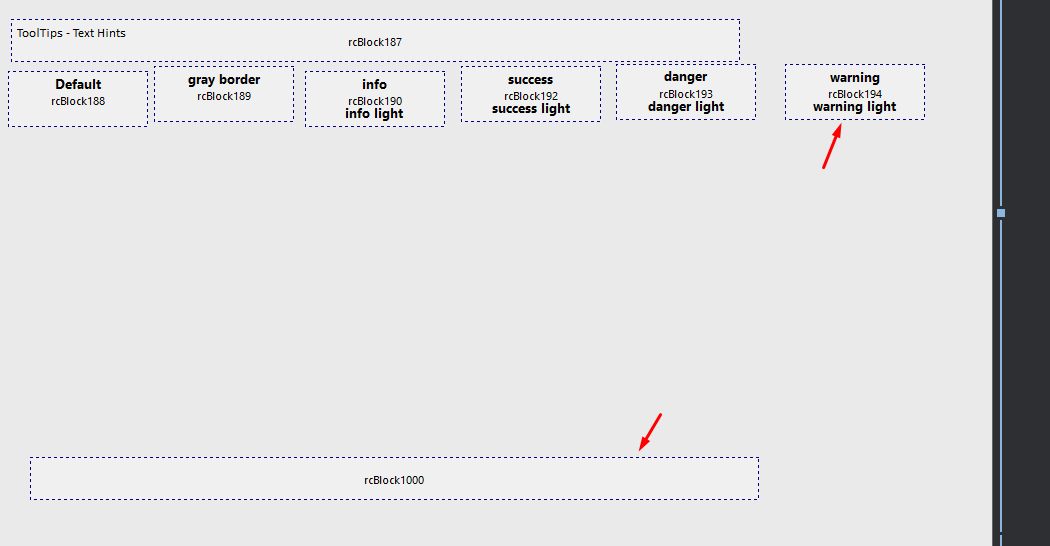
By default, cloning or any creation of blocks with RC ELEMENTs will follow the sequence from the last block in the form.
In the example above, this would be from block 1000.
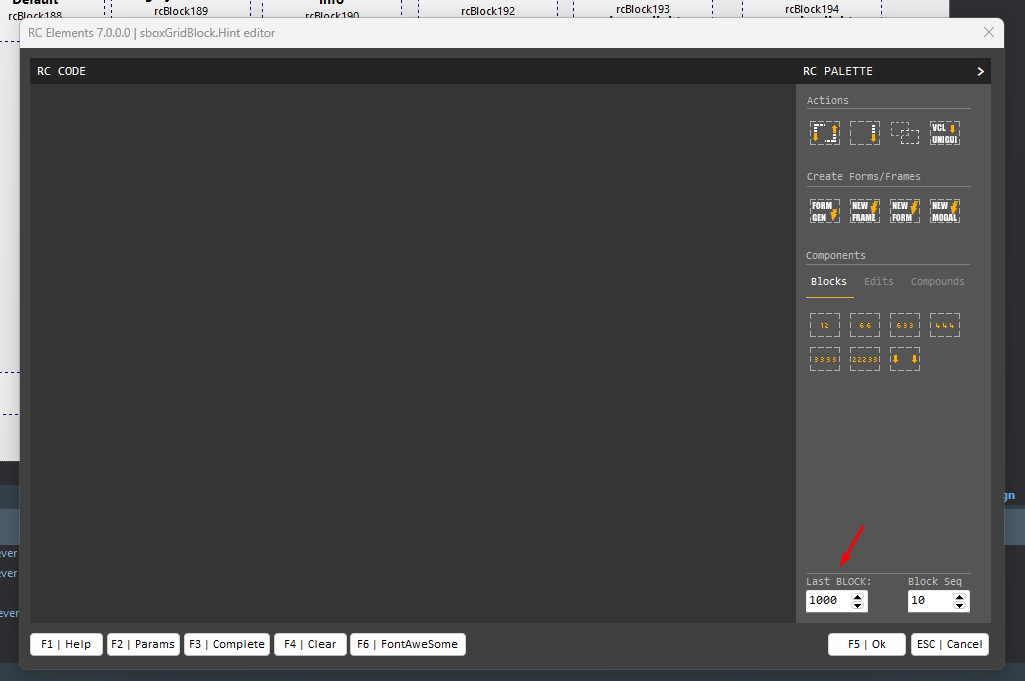
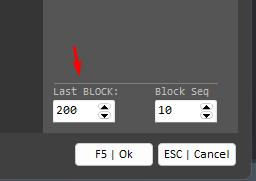
I want to clone blocks 188 to 194 but I want the sequence to start from 200 with intervals of 10 in 10.
Select the blocks, activate RC ELEMENTs, adjust and then run the cloning:
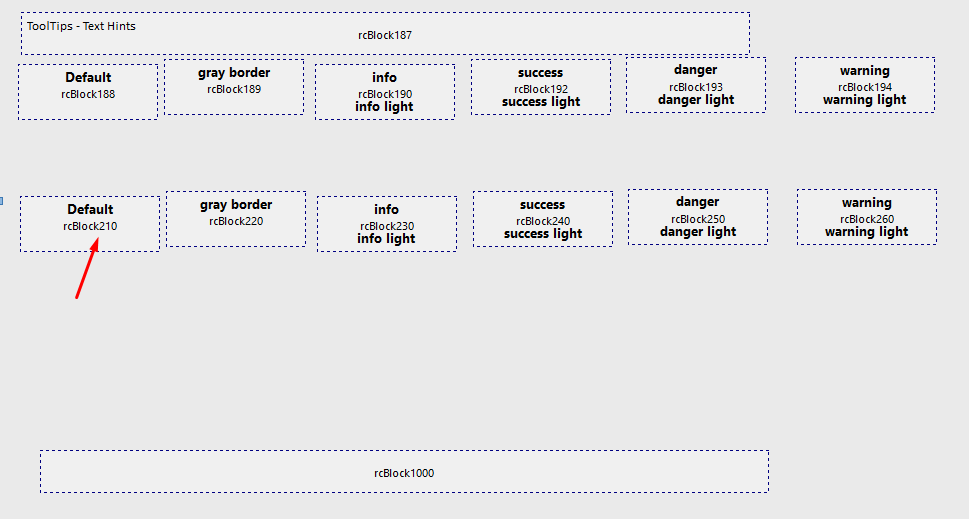
IMPORTANT
If, after cloning several objects, a block/component is not in its original order, it's because "the initial creation order" of these blocks/components was just like that.
A simple solution to this is to simply hit CTRL X (remove) and CRTL V (paste) on the block/component before using the "clone" or select (by holding down "shift") each block you want to clone in sequence.
VCL TO UNIGUI

With the aim of helping developers to migrate their projects to the web, RadCORE version 4.1.0.0 brings a basic component converter.
VCL-to-UNIGUI will reduce your work but it is far from being a professional PARSER, but it will definitely help you!
Internally, the converter will recognize most of the basic components of the VCL including some third-party versions such as:
- DevExpress
- TMS
- Raize( Kanopka )
TUniBitBtn
TUniSpeedButton
TUniLabel
TUniRadioButton
TUniRadioGroup
TUniDBRadioGroup
TUniCheckBox
TUniDBCheckBox
TUniDBText
TUniImage
TUniDBImage
TUniContainerPanel
TUniEdit
TUniDBEdit
TUniDBLookupComboBox
TUniFormattedNumberEdit
TUniDBFormattedNumberEdit
TUniDBGrid
TUniStringGrid
TUniDateTimePicker
TUniDBDateTimePicker
TUniComboBox
TUniDBComboBox
The process is simple. Open 2 DELPHI instances:
1) With your project in VCL;
2) With your RadCORE(UNIGUI) project;
In the VCL version, select the components you want to convert by clicking on each one or by clicking on its "parent":
Note: If PARENT selection fails, individually select each component by holding down the CTRL key.
After selection, just press CTRL + C (copy to clipboard).
Open the DELPHI instance with RadCORE( UNIGUI ), click on your form/frame with the right mouse button and select RC ELEMENTS from the context menu.
Now just click on the VCL-to-UNIGUI button and click on the OK button.
Note: If the conversion fails, it is sometimes due to a failure to access the clipboard. In some cases, just press CTRL V or repeat the operation.
See the video below:
https://youtu.be/nVEkvTx2X5I
FORM GENERATOR

As of version 5.0 we will be able to create a new form inherited from "frmBaseCRUD" already containing the responsive blocks and their fields linked to a database table, that is, a form generator.
You can also automatically create the RadCORE dynamic menu option to call this new form and even activate the permission control for it.
See the video:
Creating a new CRUD
https://1drv.ms/v/s!AovhnjIbioMA23jR6B1tGPTKtNFz?e=1UwHkv
NEW FRAME, NEW FORM and NEW MODAL

From version 5.0 we will be able to create a new UniFrame, UniForm and a UniForm inherited from frmGenericModalForm.
Normally, to create a new frame / form in unigui you need to access several items from the "file" menu.
If you are going to create something that is inherited, even more items must be clicked until they are created.
With these new RC ELEMENTS options, you will save more time and better, they will already be created contemplating the new MainModule( mm ) nomenclature and RadCORE's default layout rendering functions.
See the video:
Creating a new FRAME
https://1drv.ms/v/s!AovhnjIbioMA23eR0mctZ1iwHrL_?e=OwpLtg
The same procedure will be identical to create a new FORM and a MODAL FORM.
note:
Do not create frames or forms with names that already exist in the project. If you really want to use a pre-existing name, remove the files ( .pas and .dfm ) before creating.
Created with the Personal Edition of HelpNDoc: Full-featured EPub generator